Cables twisting in the carrier?How to prevent corkscrewing.
A cable that twists into a spiral in the carrier, the so-called corkscrew, breaks sooner or later. The cause almost always lies in how the cable was laid in and fixed.
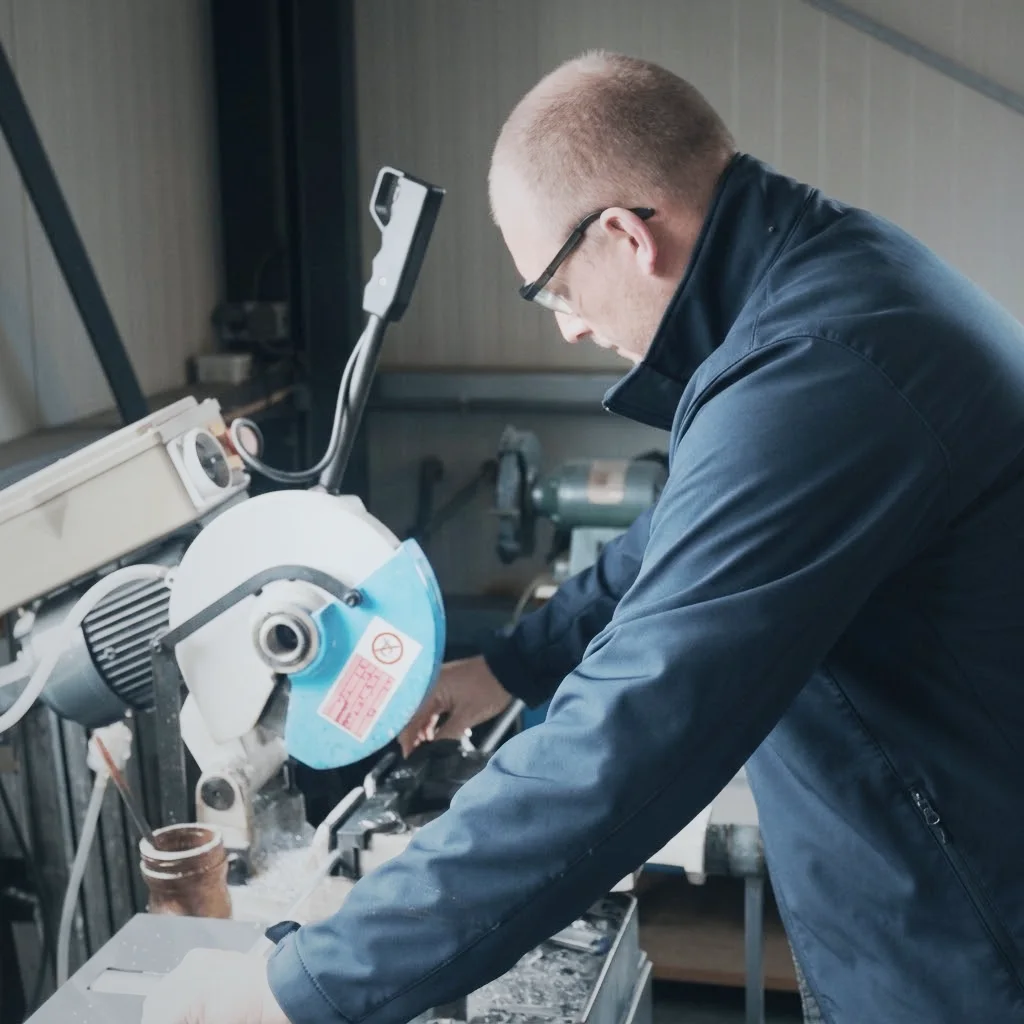
Is a cable already creeping out of the carrier or lying in a spiral? Have it re-laid before the cores break.
Symptoms
Do you recognise this?
- Cables lying in a spiral
- Cables that creep out at the fixed point or the driver
- Cables lying stacked on top of each other
- Sheath with twist marks or creases
You can check this yourself
- Are the cables laid in stress-free and straight?
- Are they fixed at both ends?
- Does each cable have its own place with dividers?
- Are these highly flexible cables?
Causes
What it is usually down to
Often several causes play a role at once. We look at the carrier, the installation and the movement together.
Let us take a look Do you already know which part is broken? Request it straight away01Cable inserted twisted
A cable that comes off the reel with a twist and is laid in like that holds that tension and starts to twist as soon as it moves.
02No strain relief
If it is not fixed at both ends, the cable can move lengthways and push up.
03Too much space or no layout
Cables that can slide freely through the cross-section end up lying over each other.
04Cable not suitable
Cables not built for moving use start to twist sooner.
Step by step
Fix it yourself
Have a fitter in house and want to do it yourself? This is the order we follow too.
- Level
- Medium
What you need
- Tool for the cross bars and strain relief
- Dividers from the same series
- A second person to guide the cable
Safety first. Only work on a machine that is stationary, de-energised and locked out against switching on. Secure axes that can move or drop. Follow your company's safety rules.
- (01)
Machine in the middle position
Put the carrier in its middle position, so the cables lie as straight as possible at rest.
- (02)
Detach cable
Open the carrier and detach the strain relief on one side. Let the cable untwist until it lies free of tension.
- (03)
Lay in straight
Lay the cable back in its own place without twisting. A line on the sheath helps you see whether it is twisted.
- (04)
Apply layout
Place dividers so that each cable has its own compartment and cannot slide over another.
- (05)
Securing and testing
Fit the strain relief on both sides and let the machine move slowly. Check that the cable stays straight.
When to stop
Are the cores already damaged, or is the cable in a spiral that will no longer lie straight? Then the cable needs replacing.
Solution
Prefer to have it fixed? This is how we do it
Not just replacing, but making sure it does not happen again.
- 01Insert again
- Unroll cables stress-free and lay them straight, at the right length.
- 02Layout and strain relief
- Dividers and strain relief at both ends keep every cable in place.
- 03Have it fully assembled
- We also supply the carrier complete with inserted and secured cables.
Range
Series that prevent this
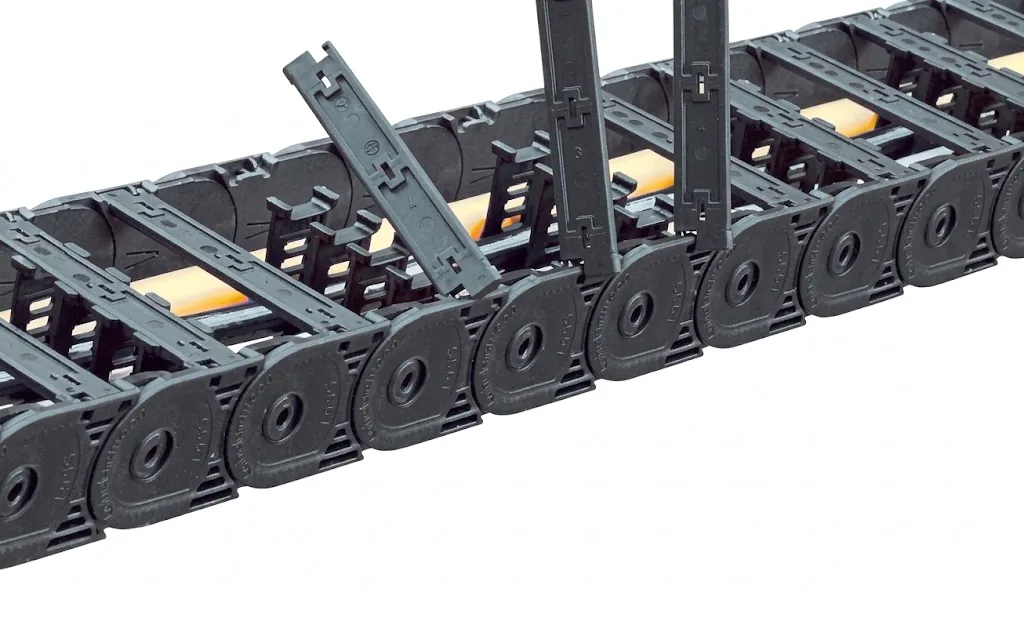
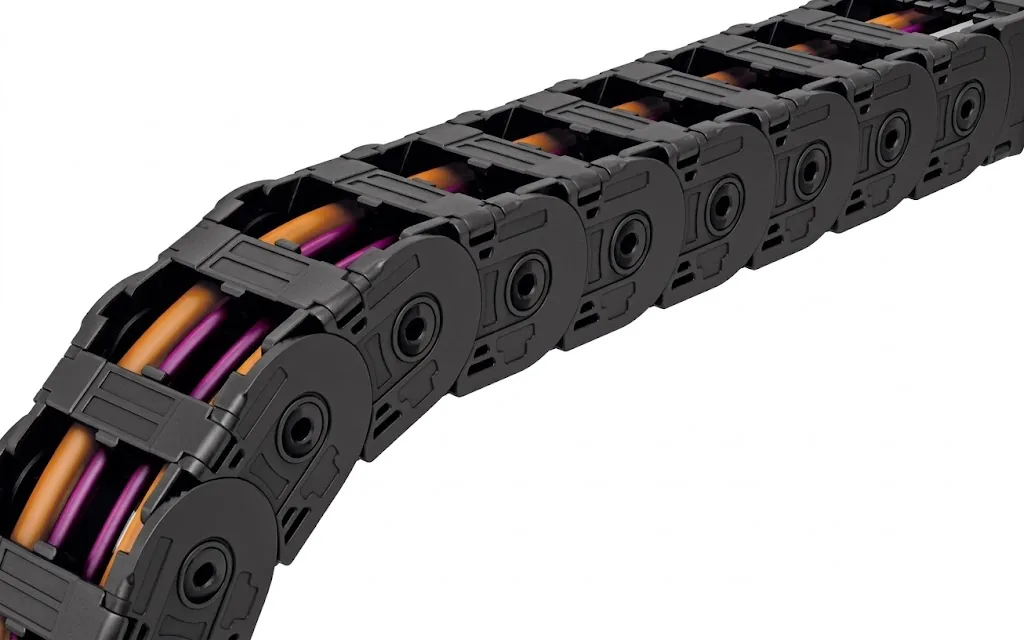
Frequently asked questions
About: cables twist in the carrier
Troubleshooting guide
Other faults
Fault
Prefer us to
take a look?
Send a photo or video of the carrier and tell us what is happening. A specialist will look into it with you.
- Phone+31 88 002 3500
- E-mailverkoop@wisman-techniek.nl
- AvailableMon–Fri 08:30–17:00





11 specialists in Ruurlo
You speak directly to someone who knows.