Short answer
First check the length and installation height, lay the cables tension-free and straight in their own compartment, fix them at both ends with strain relief and align the fixed point and driver with the direction of travel. Then let the machine make a full stroke slowly first.
You mount a cable carrier in a fixed order: check the dimensions, lay the cables tension-free, fit strain relief at both ends, align the fixed point and driver, and then a slow test run. Skip a step and you only notice it later. A well-chosen carrier that still breaks cables or runs out of the channel almost always has an assembly error in practice.
This article follows the assembly from start to finish. How to recognise wear afterwards is explained in spotting wear on cable carriers.
What do you check before you start mounting?
First compare the dimensions of the carrier with the machine. Is the length right, does the bend fit in the available space and do you have all the parts? A carrier that turns out to be too short pulls on the driver at the end of the stroke.
- Length: with the fixed point in the middle of the travel, the length is roughly half the travel plus the bend (π × bending radius) plus two links, rounded up to whole links.
- Height of the bend: roughly 2 × bending radius plus the outer height of the carrier. This space must be free along the entire travel.
- Parts: end fixings for the fixed point and driver, strain relief, dividers and, for a gliding arrangement, the guide channel.
- Cables: suitable for continuous flexing, with a minimum bending radius that matches the bending radius of the carrier.
Worked example: is your cable carrier the right length?
Take a travel of 4,000 mm with the fixed point in the middle, a bending radius of 150 mm and a pitch of 50 mm. You calculate it like this:
| Part | Calculation | Result |
|---|---|---|
| Half travel | 4.000 / 2 | 2.000 mm |
| Bend | π × 150 | 471 mm |
| Two links | 2 × 50 | 100 mm |
| Raw length | total | 2.571 mm |
| Rounded up to whole links | 52 × 50 | 2.600 mm |
With an outer height of, say, 60 mm the bend is roughly 2 × 150 + 60 = 360 mm high. If the fixed point is at the end of the travel, the full travel counts instead of half. Rather not do it by hand? The tool calculate cable carrier length works it out for you, including the number of links.
Calculate it yourselfCalculate cable carrier lengthLength and number of links from travel length and radiusCalculate itHow do you lay cables in a cable carrier?
How you lay the cables largely determines how long they last. Preferably put the carrier in the middle position, so the cables lie as straight as possible at rest.
- (01)Unroll the cables from the drum without pulling them off, and let them relax stretched out before they go into the carrier.
- (02)Lay each cable straight in its own compartment, from start to end. Cables must not cross each other.
- (03)Put heavy cables on the outside and light ones on the inside, with dividers in between, so the carrier is loaded evenly.
- (04)Leave space around every cable. Cables pressing against each other or the wall rub and get squeezed in the bend.
- (05)Give the cables a little extra length, in the order of 1 to 2%, so they lie freely in the bend and are not taut between the fixed points.
A line on the jacket helps you see whether a cable is twisted. You plan the layout in advance, with dividers and possibly a shelf, in ChainLogic. Unsure about the cables themselves? First read which cables belong in a cable carrier or look at the flexible TRAXLINE cables.
Troubleshooting guideCables twisting in the carrierCables that start to coil or creep out of the carrier.Go to the solutionWhere do you fit the strain relief?
Fix the cables at the fixed point and at the driver, not in the carrier itself. That way the carrier takes up the movement, not the cable. Without fixing, a cable creeps back and forth, bunches up at the ends and starts to twist.
Clamp the cables without pinching them. Strain relief that squeezes the jacket only moves the damage somewhere else. Missing a clamp or is the size wrong? You will find strain relief and other loose parts under parts for cable carriers.
How do you align the fixed point and driver?
The fixed point and the driver must be exactly in line with the direction of travel. Place a straight edge along the fixed point, any channel and the driver: everything should be in one line. A misaligned driver pulls the carrier against the side, which causes lateral wear and eventually breakage.
Then check the height. With a self-supporting carrier, the driver belongs at the height of the upper part, so it keeps running straight. Measure the installation height at the driver and compare it with the specification of the series. Too low or too high means extra load on the last links.
What is different with a gliding cable carrier in a channel?
On long travels, the upper part of the carrier glides over the lower part in a guide channel. Then three checks are added:
- The channel fits the carrier: too much space lets the carrier sway, too little makes it jam.
- The channel is straight and continuous: joints and height differences between channel sections make the carrier catch.
- The driver is centred above the channel: otherwise it pulls the carrier askew and it climbs up the wall.
Not every series is made to glide on itself. For long travels there are series such as the TKHP, with travels up to 1500 m. The difference between both arrangements is explained in self-supporting or gliding.
How do you test a cable carrier after mounting?
Let the machine make a full stroke at low speed and watch along the entire travel. Only then go to production speed. During the test run, check these points:
- The carrier bends evenly in the radius, without kinking or reverse bending.
- It does not touch the machine, the channel or another carrier anywhere.
- The cables stay straight in place and do not creep out of the carrier at the ends.
- The movement is smooth, without jerks, ticking or rubbing.
- The upper part runs as intended: straight when self-supporting, neatly in the channel when gliding.
Record the condition at handover with a few photos. That lets you compare later whether anything has changed. In doubt afterwards? Check the carrier with the Carrier check.
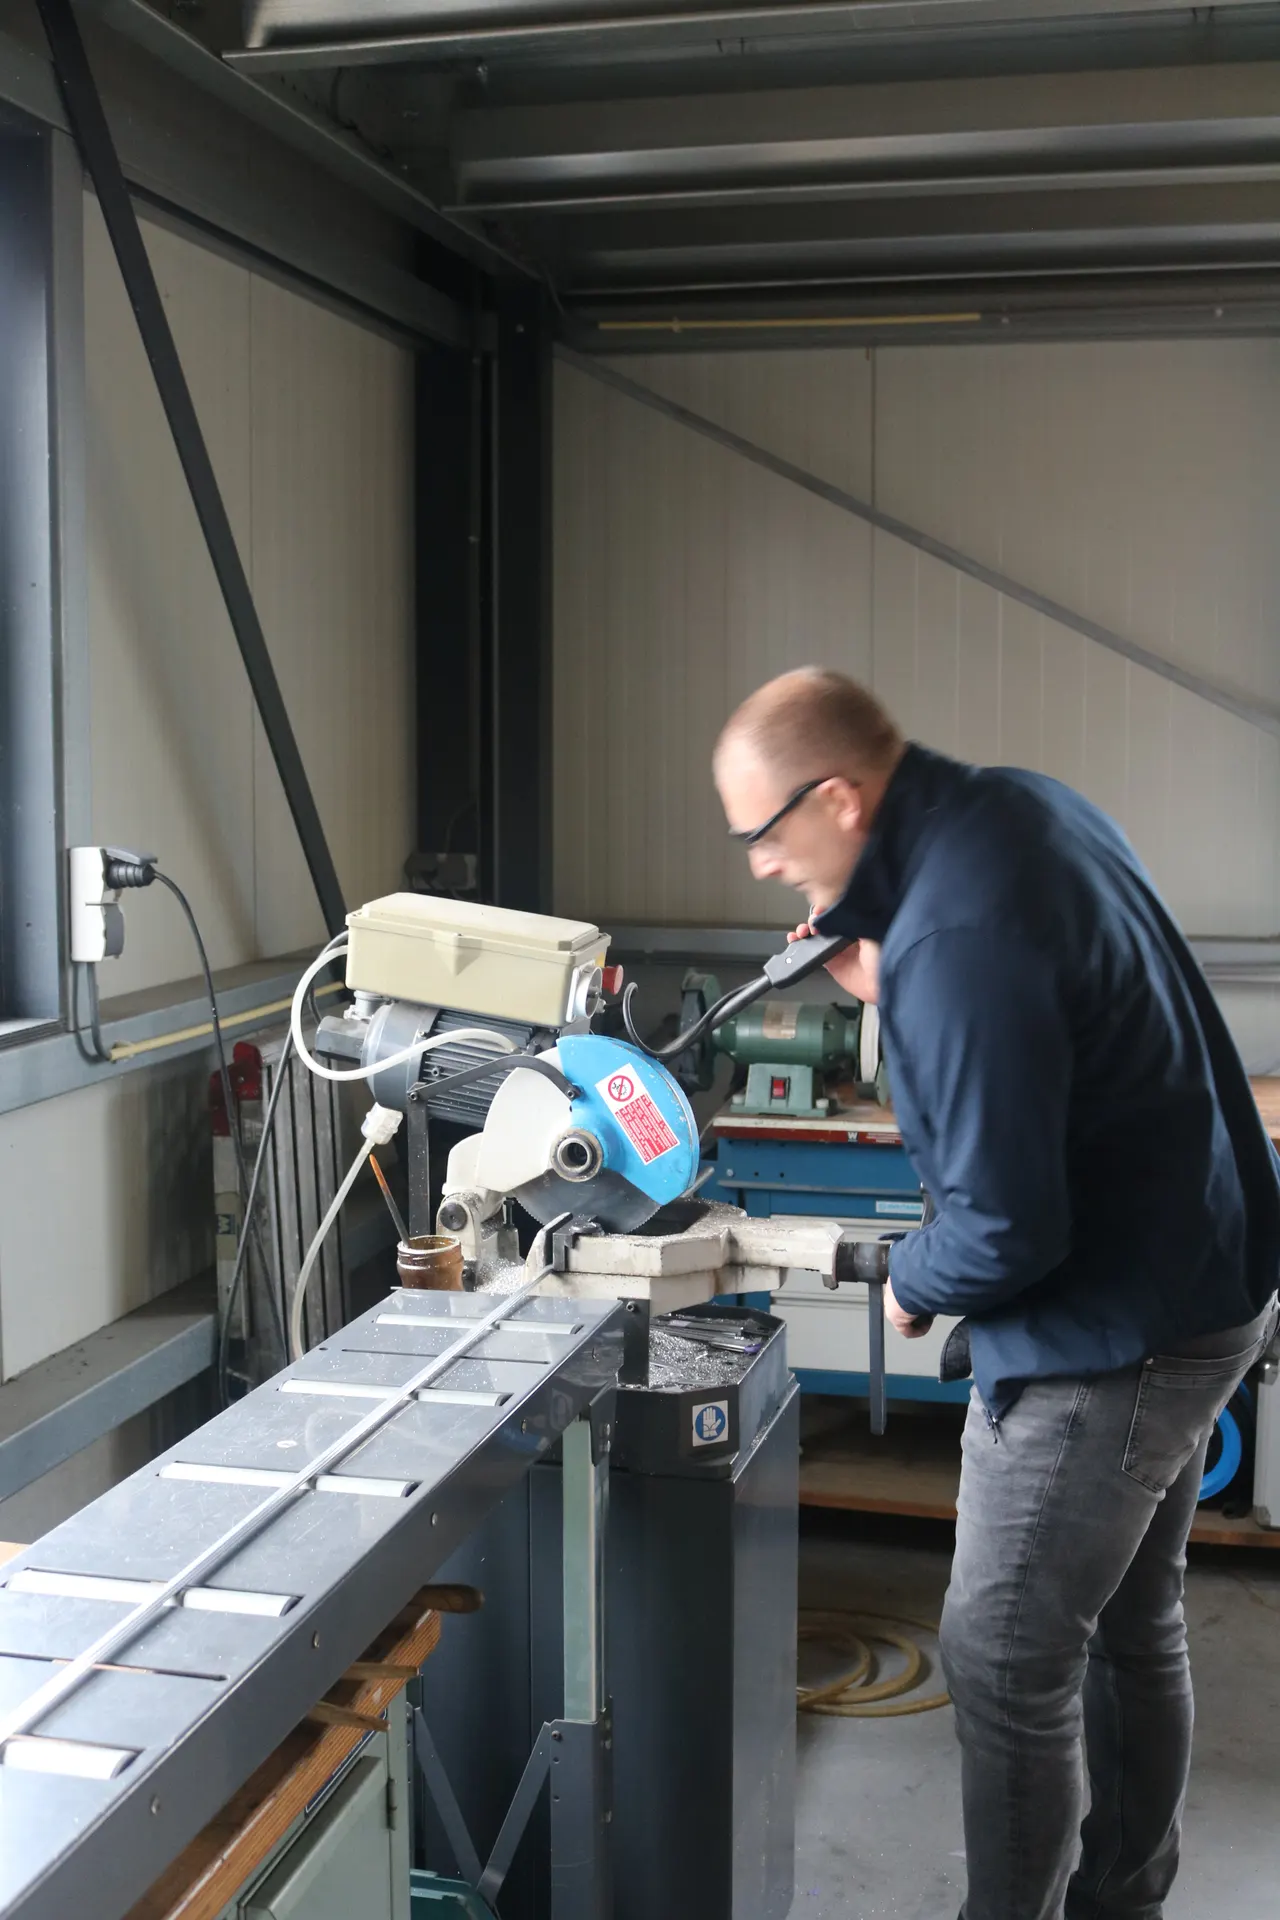
Rather not carry the assembly risk yourself? Wisman assembles the carrier to size in Ruurlo, complete with cables and hoses in the right layout, and tests it before shipping. On site we install in the Netherlands and Belgium, or we go through the assembly together with your own fitters.

Already know the dimensions? Request a quote for a ready-to-install cable carrier straight away.
Frequently asked questions
How much extra length should cables in a cable carrier have?
A little extra length, in the order of 1 to 2%, is enough. The cables must be able to lie freely in the bend and must not be taut between the fixed point and the driver.
Does a cable carrier need strain relief at both ends?
Yes. Fix the cables at the fixed point and at the driver. Without strain relief at both ends, cables slide back and forth and start to twist.
How do I calculate the length of a cable carrier?
With the fixed point in the middle: half the travel plus π × bending radius plus two links, rounded up to whole links. With the fixed point at the end you use the full travel.
Why does my cable carrier run out of the channel after mounting?
Usually the driver is not centred above the channel or is at the wrong height, or the channel is not straight and continuous. Check the alignment with a straight edge and adjust the driver.
Can Wisman supply the cable carrier complete with cables?
Yes. We assemble the carrier in Ruurlo with cables and hoses cut to length, in the right layout and with strain relief, and test it before shipping.
Next step
Calculate it yourself or browse the range. We check your result free of charge.

Series on this topic
Question about this topic?
Ask Joep directly
RMO Specialist at Wisman Techniek