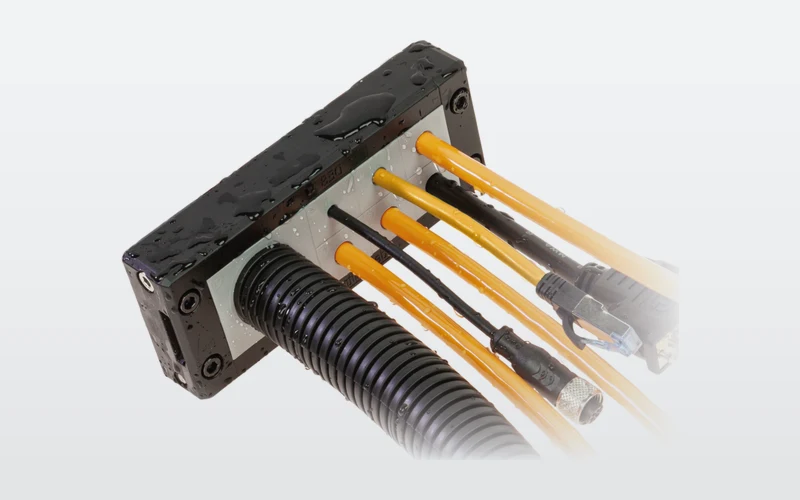


Short answer
A DES 24 frame from Detas Ultra takes 10 cables up to Ø 17 mm, or 6 small cables and 1 large one from 17 to 35 mm, or 2 small and 2 large. A DES 16 takes 8 small, 4 small and 1 large or 2 large; a DES 10 takes 6 small or 2 small and 1 large. For each cable you choose a grommet based on the actual sheath size, and you close empty positions with a blanking grommet.
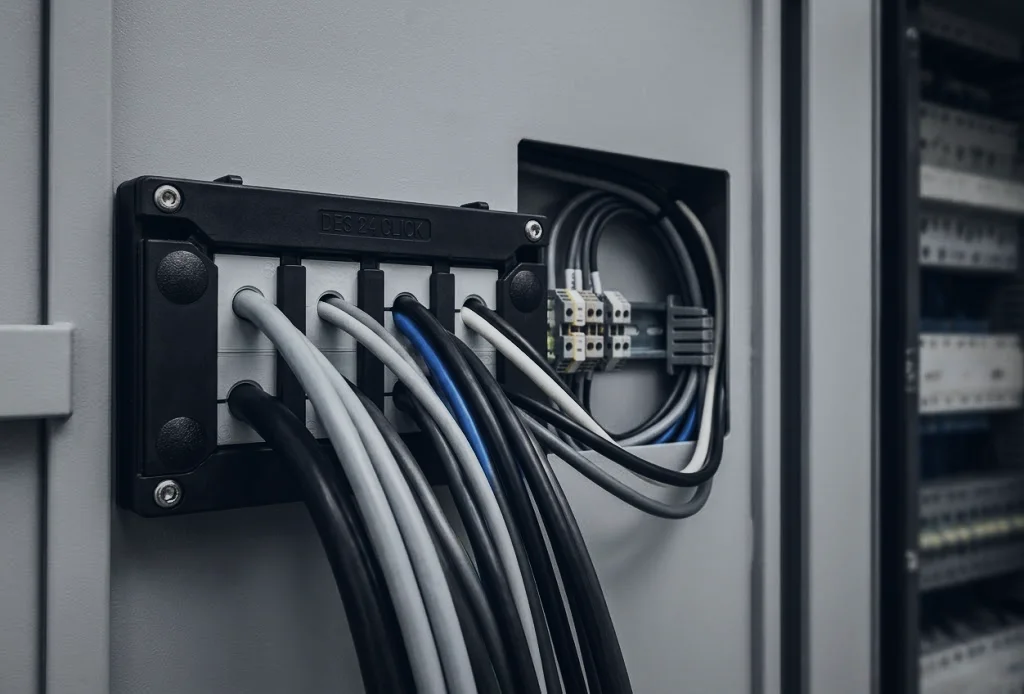
How many cables fit in a cable entry frame depends on the frame size and on how thick the cables are. A DES 24 frame from Detas Ultra takes 10 cables up to Ø 17 mm. If there is a thicker cable from 17 to 35 mm, it takes up the space of four small ones: you are then left with 6 small positions and 1 large one. With that simple rule you can lay out any cable entry frame in advance, before a cut-out is sawn into the cabinet wall.
This article is for the engineer who designs a cabinet or machine wall and for the fitter who has to install the cables. Still unsure whether a frame is the right choice, or whether a cable entry plate or gland suits better? Then first read choosing a cable entry: gland, frame or entry plate.
How does a cable entry frame work?
A cable entry frame consists of a split housing and separate grommets. You pass the cable, connector and all, through the rectangular cut-out, fit a grommet that matches the diameter around each cable and click the grommets into the open frame. When you close the frame, it clamps the grommets in place. That gives sealing and strain relief on every cable in one go.
The big advantage is that pre-assembled cables do not need to be cut. A servo or sensor cable with a connector goes in complete. With the DES frames from Detas Ultra, every combination of grommets achieves IP66 / NEMA 4X, and the system is self-extinguishing to V0.
Watch out for one point that is often forgotten: the connector has to pass through the cut-out in the wall. A frame with a cut-out 36 mm high will not let a larger connector through. So besides the cable diameter, also measure the largest connector in your cable list.
How many cables fit in a DES 24, 16 or 10?
A DES frame has small and large positions. A small position takes an SPP grommet for a cable from 2 to 17 mm. A large position takes an SPG grommet for a cable from 17 to 35 mm. A large position is two small positions wide and the full height of the frame, so it takes up the space of four small ones.
According to the Detas Ultra catalogue, these are the possible layouts:
| Frame | Cut-out | Small only | Small + large | More large |
|---|---|---|---|---|
| DES 24 | 112 × 36 mm | 10 | 6 + 1 | 2 + 2 |
| DES 16 | 86 × 36 mm | 8 | 4 + 1 | 0 + 2 |
| DES 10 | 63 × 36 mm | 6 | 2 + 1 | – |
| DES Q | 40 × 36 mm | 4 | – | 0 + 1 |
For a narrow wall there are the DES L1 to L5, with a cut-out 18 mm high and 21, 40, 63, 86 or 112 mm wide. They hold 1 to 5 small grommets side by side in a single row. If the cables have to enter the cabinet at a right angle, there is the DES 24 in 90° version.
Which grommet do you choose for each cable?
The grommets are numbered by cable diameter. An SPP 8 is for a cable from 8 to 9 mm, an SPP 12 for 12 to 13 mm. The range continues like this up to SPP 16. Above that the range of large grommets starts, from SPG 17 up to and including SPG 34.
Three things to watch out for:
- (01)Measure the sheath, not the connector. The grommet closes around the cable. Take the outer diameter from the data sheet, or check it with a calliper. For TRAXLINE cables, the diameter per variant is listed with the flexible cables. How to read the cable code is explained in reading a cable code: 4G1.5 or 4x1.5.
- (02)Choose the grommet your diameter falls within. A 12.4 mm cable gets an SPP 12. A grommet that is too loose does not seal and gives no strain relief. A grommet that is too tight will not fit properly in the frame.
- (03)Grey or black. The grommets come in grey and in black, each with its own article number. Choose one colour per cabinet; it looks tidiest.
Never leave an empty position open. It gets a blanking grommet, the SPP 0 or the SPG 0. That keeps the cabinet sealed and gives you room for a cable that is added later.
Worked example: eight cables through one wall
A machine has these cables that need to enter the cabinet, all with connectors:
| Cable | Quantity | Diameter | Grommet |
|---|---|---|---|
| Sensor cable | 4 | 5,8 mm | SPP 5 |
| Encoder cable | 1 | 8,5 mm | SPP 8 |
| Servo cable | 2 | 12,4 mm | SPP 12 |
| Power cable | 1 | 21 mm | SPG 21 |
That makes 7 small positions and 1 large one. A DES 24 with 6 small and 1 large position is therefore just one short. The layout with 10 small positions does not fit either, because it has no large position.
There are two neat solutions:
- DES 24 with 6 + 1, plus a DES L1 for the seventh small cable. Two cut-outs, no empty position.
- DES 16 with 8 small positions, plus a DES Q with one large position for the power cable. Also two cut-outs, and one small position stays free for later.
If another sensor is added at the next modification, the second solution is the better one. There is then already a blanking grommet in the position where that cable goes, and you do not have to machine the wall again.
You can work this out by hand, but with a longer cable list the Cable entry planner is quicker. For each cable you enter the quantity, the diameter and whether it has a connector. The planner finds the layout with the fewest frames and the fewest empty positions, and puts the right grommet with article number for each cable in the parts list.
Calculate it yourselfCable entry plannerFrom cable list to cable entry with article numbersOpen the plannerHow much space do you keep free for later?
A cabinet rarely gets smaller. With a retrofit, an extra camera or a new sensor, cables are added. A frame that is already full at first handover means an extra cut-out at the next modification, in a cabinet already packed with components.
As a rule of thumb we keep one or two free positions per frame, closed with blanking grommets. If you already know a thick cable may be added, choose a layout with a large position free. You cannot create a large position afterwards by combining two small ones; you then have to lay out the frame differently.
How do you lay out an Icotek frame?
The KEL frames from Icotek work the same way. They fit standard cut-outs for 10, 16 and 24-pin industrial connectors and are filled with KT grommets. Small grommets are available for cables from 1 to 16 mm, large ones for cables up to 35 mm. Here too, a large grommet takes up the width of two small positions.
The difference lies mainly in the sealing. A KEL-ERM achieves IP66 with single grommets and IP65 with multiple grommets, which take several cables through one grommet. The KEL and the KEL-U are rated up to IP54. If the cabinet really has to be watertight, read IP rating of cable entries: IP54 to IP68 before you choose. The Cable entry planner also has a tab for Icotek.
What do you look out for during installation?
- Cut the cut-out to size. The frame only seals properly if the cut-out has the dimensions specified by the manufacturer, with clean edges.
- Fit the thickest cables first. The large grommets determine where the small ones can go. Start with the SPG grommets and then fill the small positions.
- Keep shielded cables separate. You connect the shield inside the cabinet with an EMC clamp, not in the frame. How that works is explained in connecting EMC cable shielding.
- Let the cable run straight into the frame. A cable that pulls on the grommet at an angle will start to leak over time. If the cables come from a cable carrier, secure them there first with strain relief, so the movement does not carry through to the cabinet wall.
Would you like the layout checked, or would you rather order the complete set of frames and grommets in one go? Send your cable list with a quotation request and we will put it together for you.
Frequently asked questions
How many cables fit in a DES 24?
Up to 10 cables from 2 to 17 mm. With one thicker cable from 17 to 35 mm it becomes 6 small and 1 large; with two thick cables, 2 small and 2 large.
Can a cable with a connector go through a cable entry frame?
Yes, that is what the frame is made for. The frame is split, so you insert the cable complete. The connector does have to fit through the cut-out in the cabinet wall.
Which grommet goes with a 12.4 mm cable?
An SPP 12. The grommet numbers follow the cable diameter: an SPP 12 is for cables from 12 to 13 mm.
What do you do with an empty position in the frame?
You fit a blanking grommet, the SPP 0 for a small position or the SPG 0 for a large one. That keeps the cabinet sealed and gives you room for a cable added later.
Does a frame always achieve IP66?
With the DES frames from Detas Ultra it does, with every combination of grommets. With Icotek it varies by series: the KEL-ERM achieves IP66 with single grommets, while the KEL and KEL-U are rated up to IP54.
Next step
Calculate it yourself or browse the range. We check your result free of charge.
Question about this topic?
Ask Olaf directly
Inside Sales at Wisman Techniek